Having an actual laundry room has always been something of a dream for me. This space in our home has been completely renovated now (I’ll share a full reveal at a later date).
It had orange and blue tiles, a missing cupboard. No blinds, no shelf and it was the dampest room in the house.
Just like I say with every room in our Victorian terrace house when we bought it, it was dark and uninviting.
As the renovation has pretty much been wrapped up and we are just working our way through snags now, I was already ready for a new project.
The fold down drying rack.
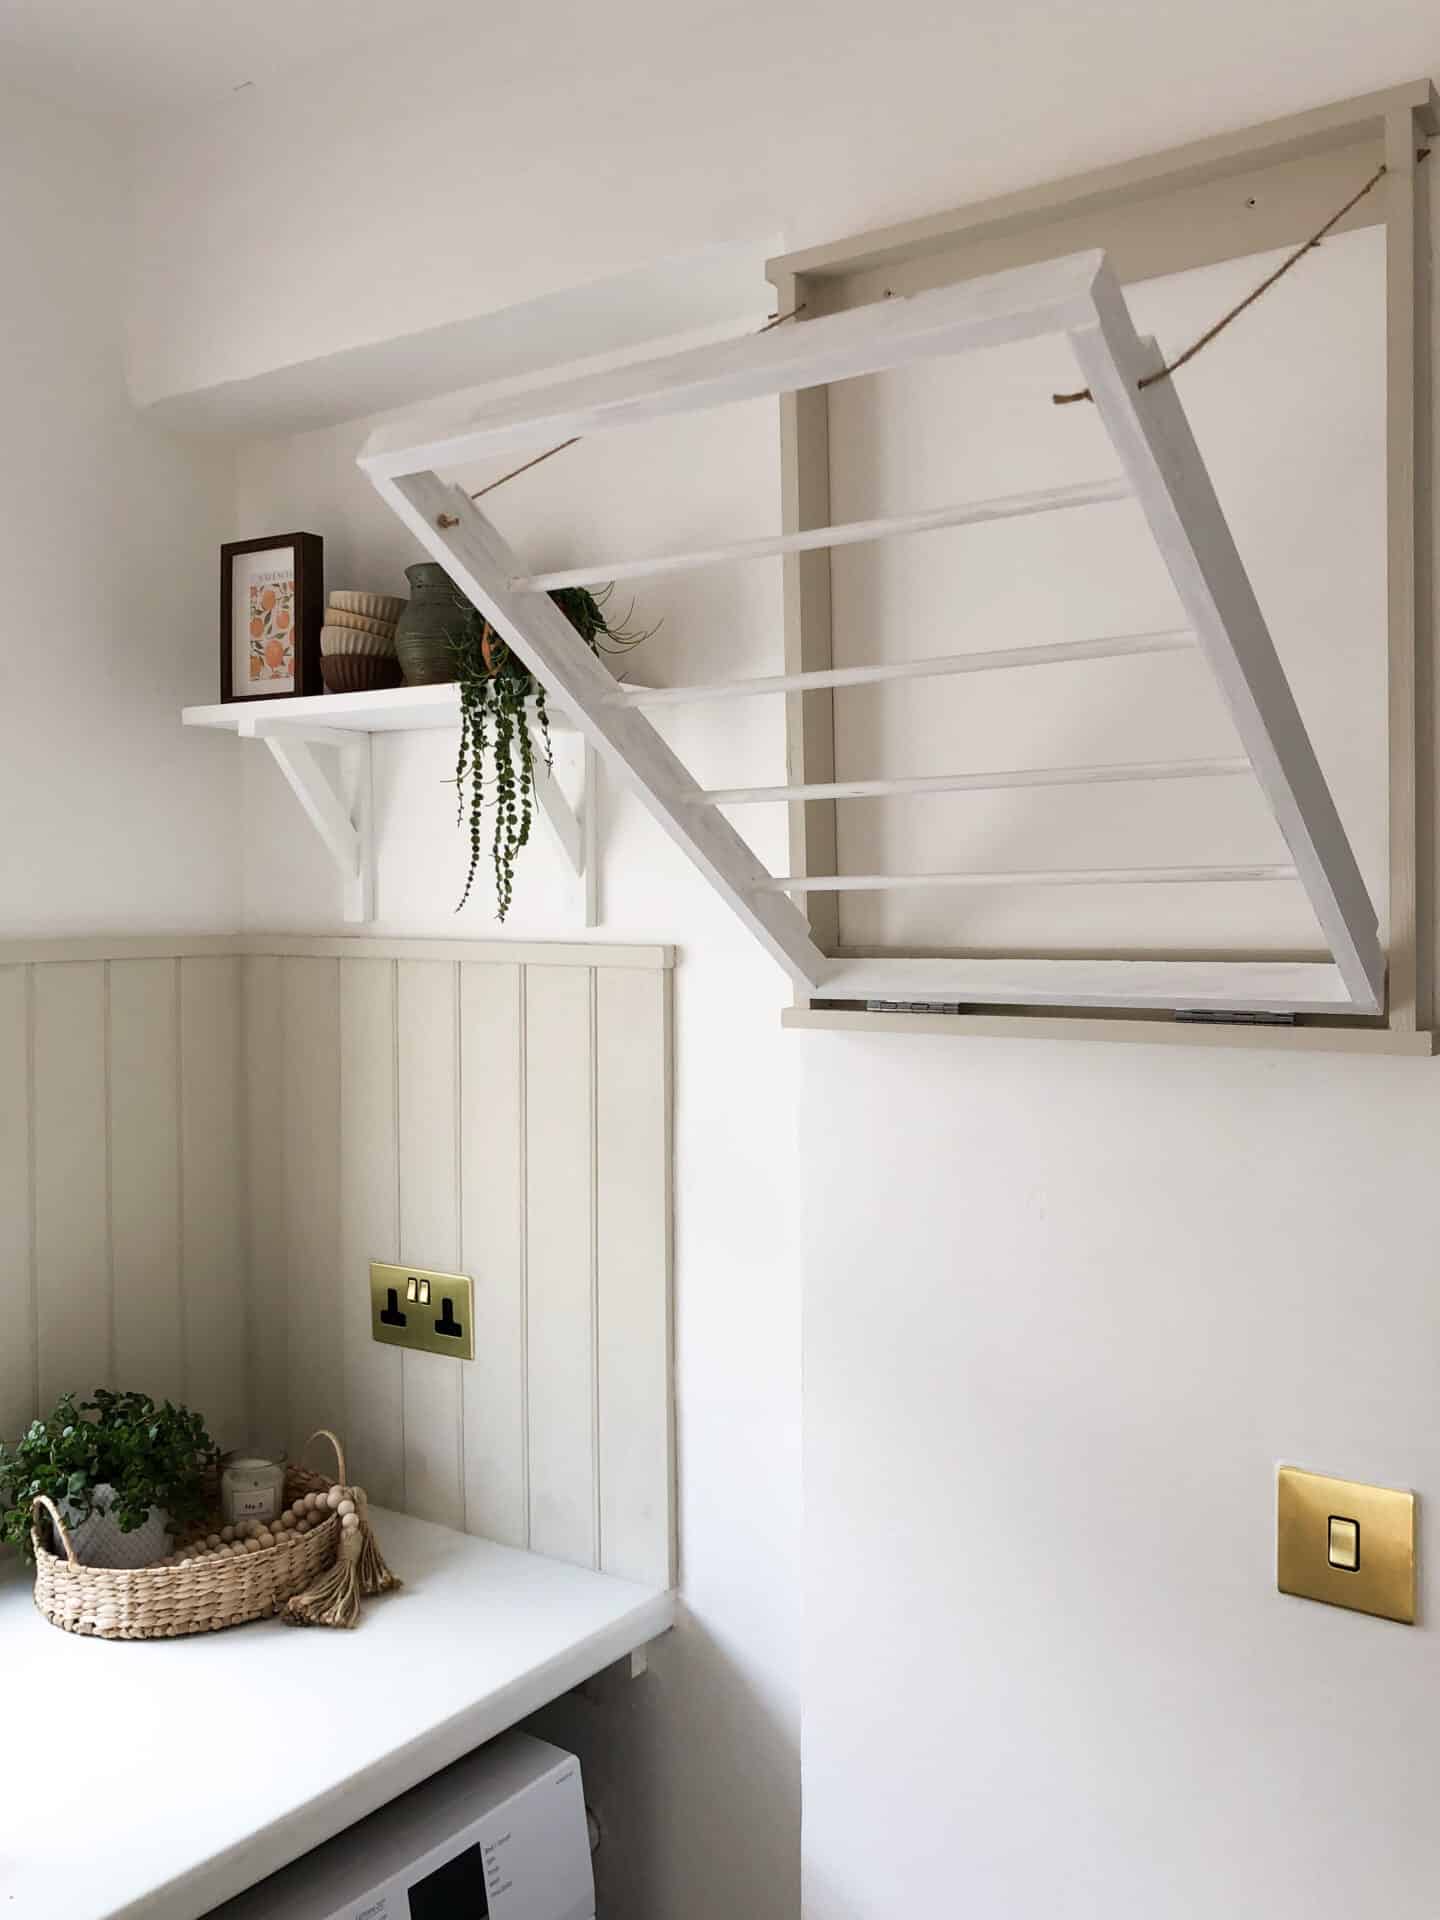
I found this ingenious laundry room addition on Pinterest and knew we had the perfect place for this.
Drying laundry in the winter is the worst, and being able to introduce some extra drying space without eating into floor space was a huge driver for this project.
The project didn’t cost very much, a little bit of time and can totally be done on your own. Here’s how to create your very own fold down wall mounted drying rack in your laundry room.

This wall next to our washing machine was the perfect place for where we wanted to add a fold down drying rack. The below is what we did for ours, the amount of wood you may need will vary depending on the size you require.
The beauty of this fold down drying rack is that you can create it to size, whether it be smaller, larger or taller.
What You Will Need:
- 3×1 planed pine timber
- 2×1 planed pine timber
- Dowels
- Saw
- A square (optional)
- Tape measure
- Pencil
- Drill
- Rawl plugs & screws for mounting to the wall
- Pocket screws
- Twine
- Level
- (Wood primer & chosen colour of paint)
How To Make A Fold Down Drying Rack
- To get started we needed to make the outer frame for the fold down drying rack. We needed to create;
- (2) 32″ lengths of 3×1 (sides)
- (2) 29″ lengths of 3×1 (top and bottom)
- (2) 27″ lengths of 3×1 (mounting cleats)
We measured and cut the timber to size, if you don’t have a jigsaw, you can just use a saw for this bit.

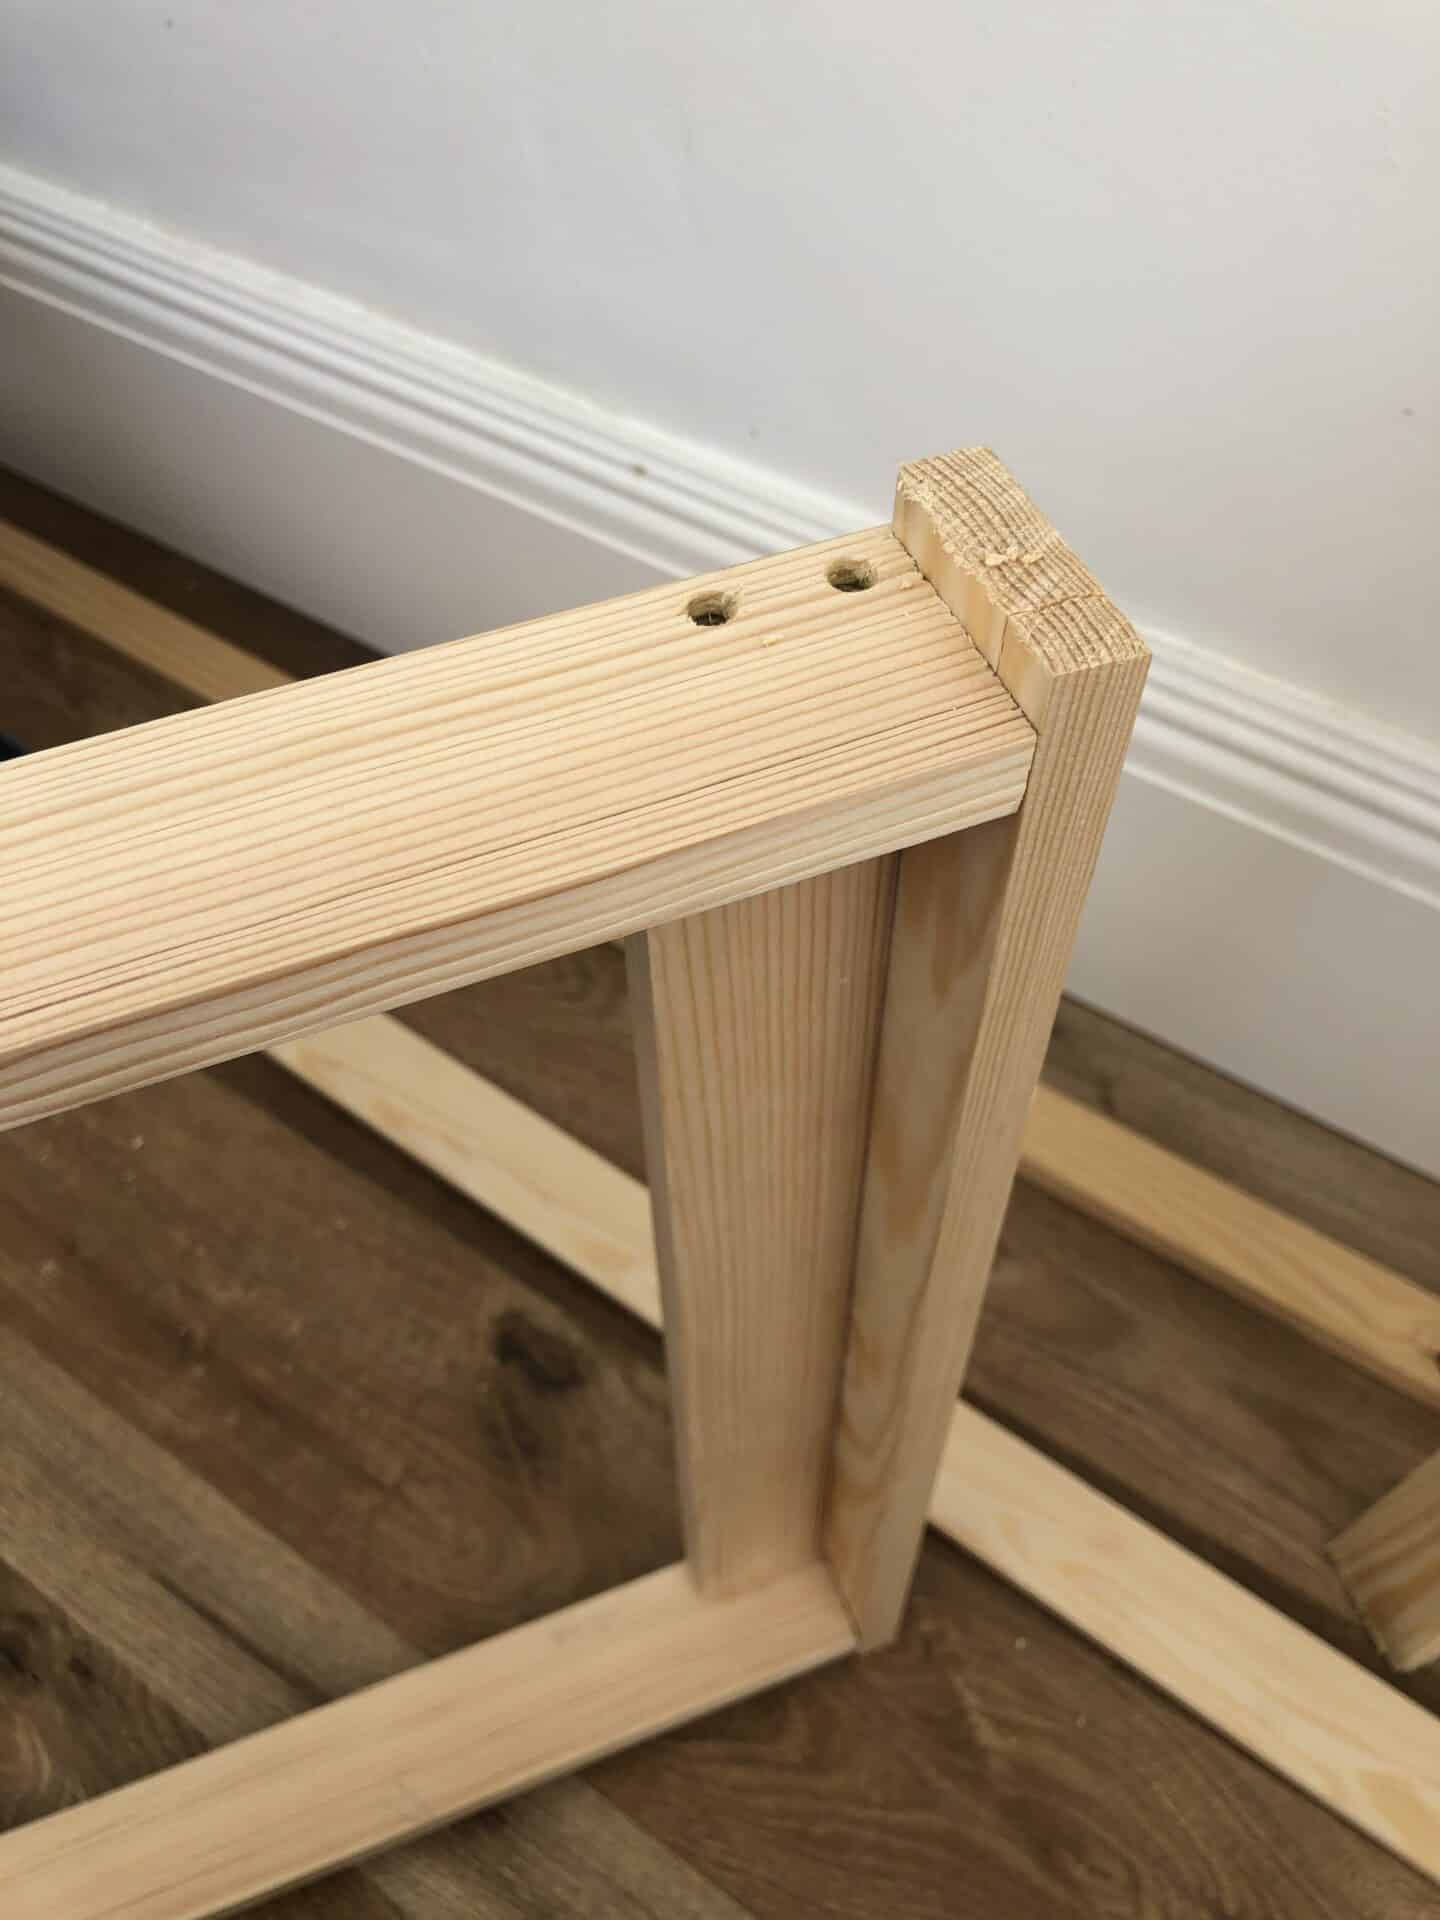
2. Once the pieces were cut we started positioning them together on the floor into a frame shape. Using a square helps to ensure that the corners are perfect 90 degree angles.

3. We assembled the frame using 30mm screws to affix each side to create the frame.

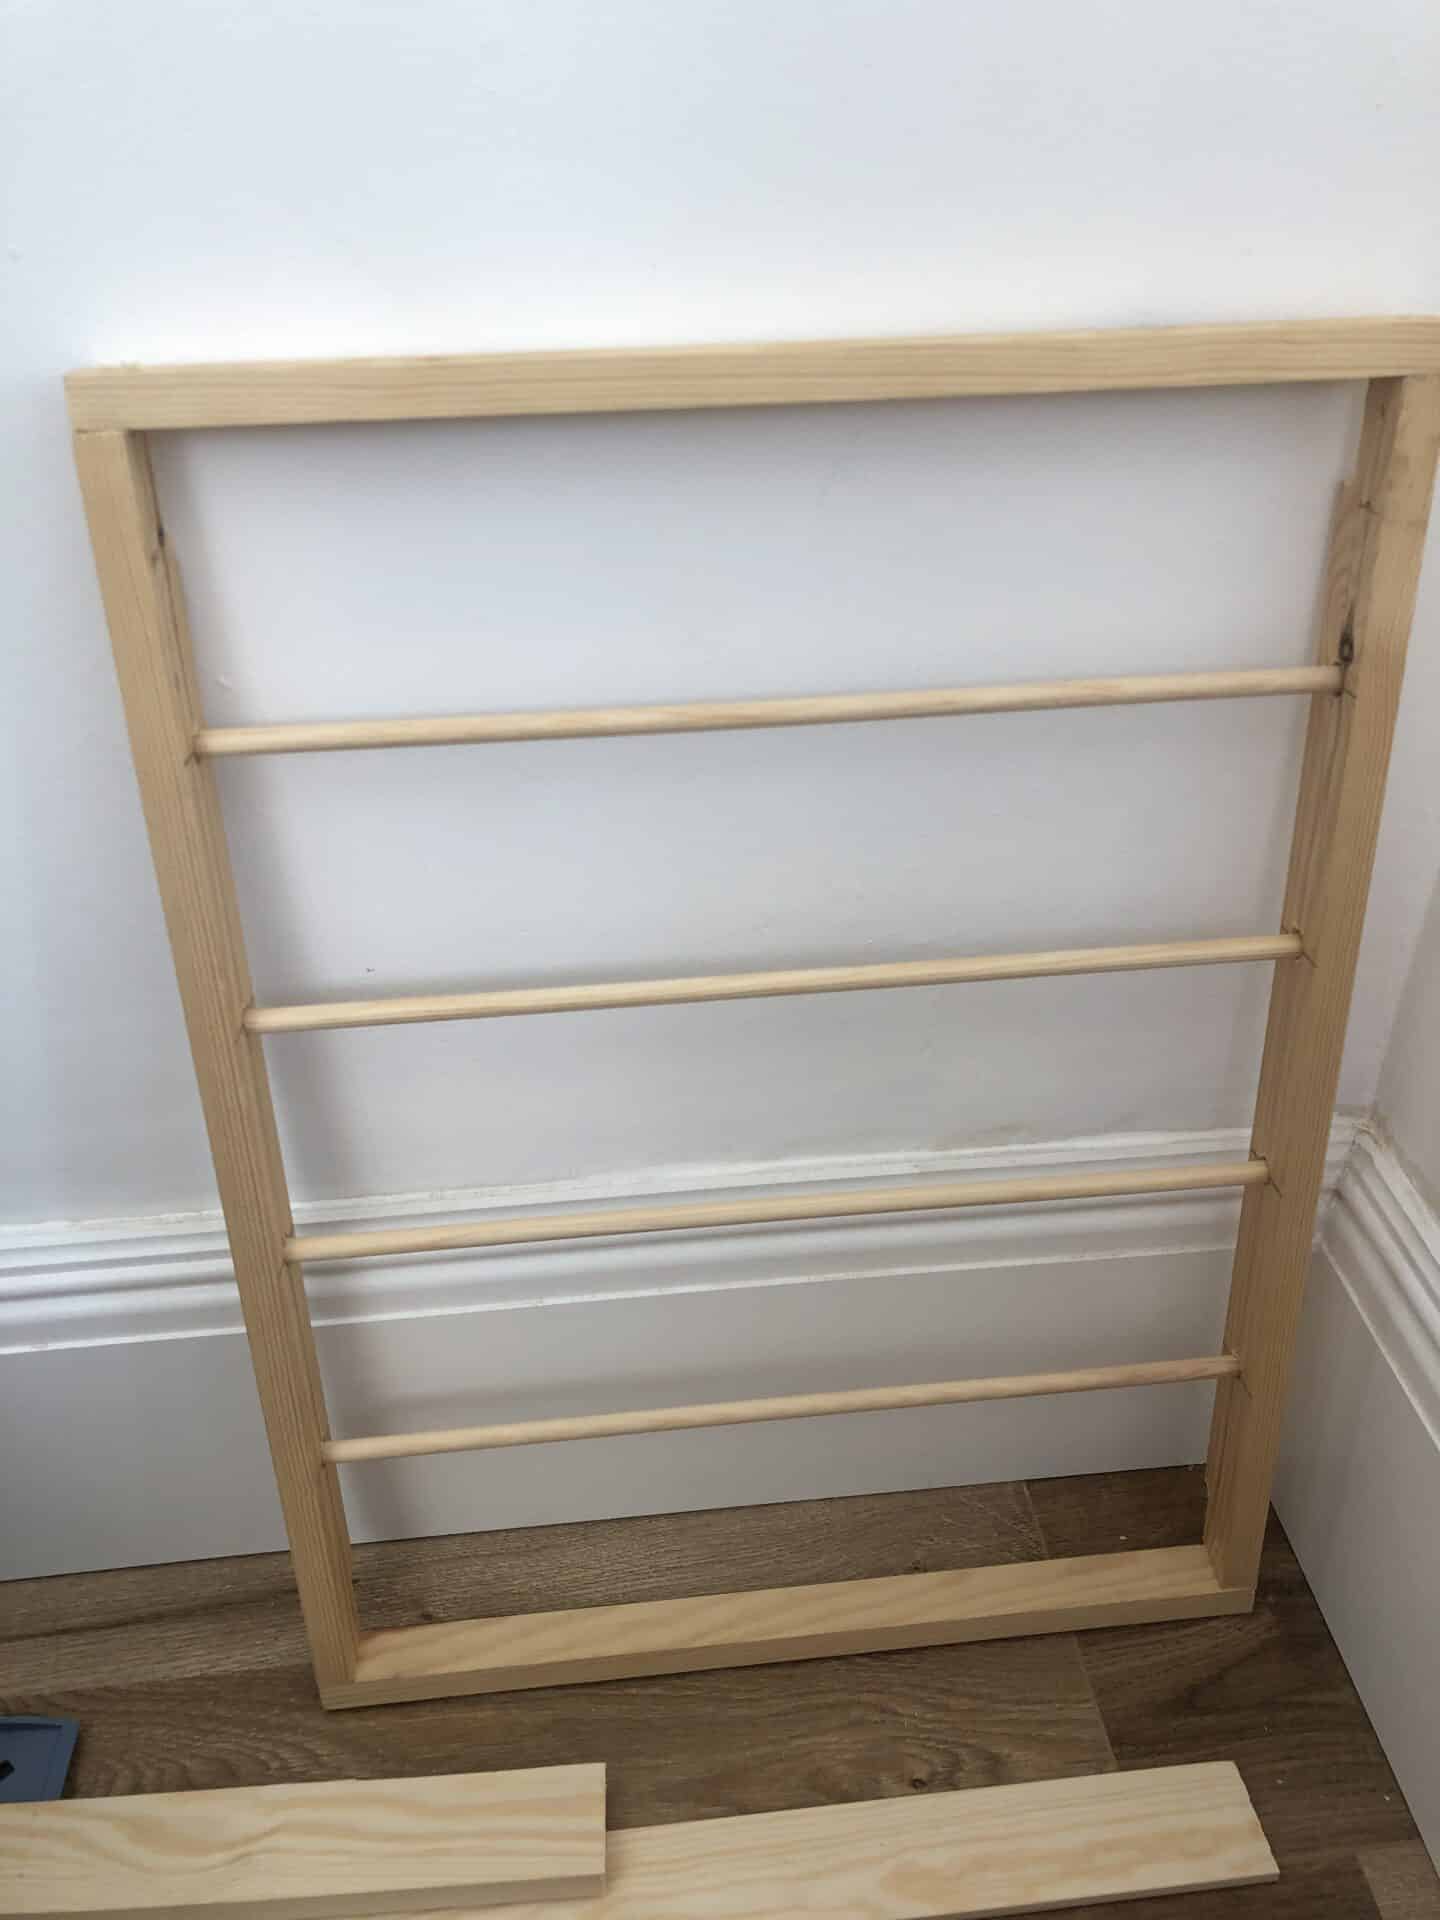
4. Next we needed to add two supporting pieces at the top and bottom to support the frame, before we started building the inner frame. We needed the following for this;
- (2) 26.5″ length of planed pine (for top and bottom of frame)
- (2) 30″ length of planed pine (for sides of frame)
- (5) 26″ long dowels (to hang the clothes on)


6. Next we needed to build the inner frame. Before adding these pieces of wood we needed to create the holes in the timber where the dowels will sit. The amount of holes and depth of the holes you create will really depend on the timber being used, and the size of the dowels.
We created 4 holes for the dowels, evenly spaced and measurements on the two sides. The holes were created by using a drill pilot bit.

7. Once the holes were cut, we screwed these two sides to the top and bottom sections of the inner frame, and then added in the dowels which were cut to size.
We used a wood glue to ensure the dowels would stay in place, and then left to dry. As you’ll see we also made another two holes at the top of the sides, this is what we will use for the twine.

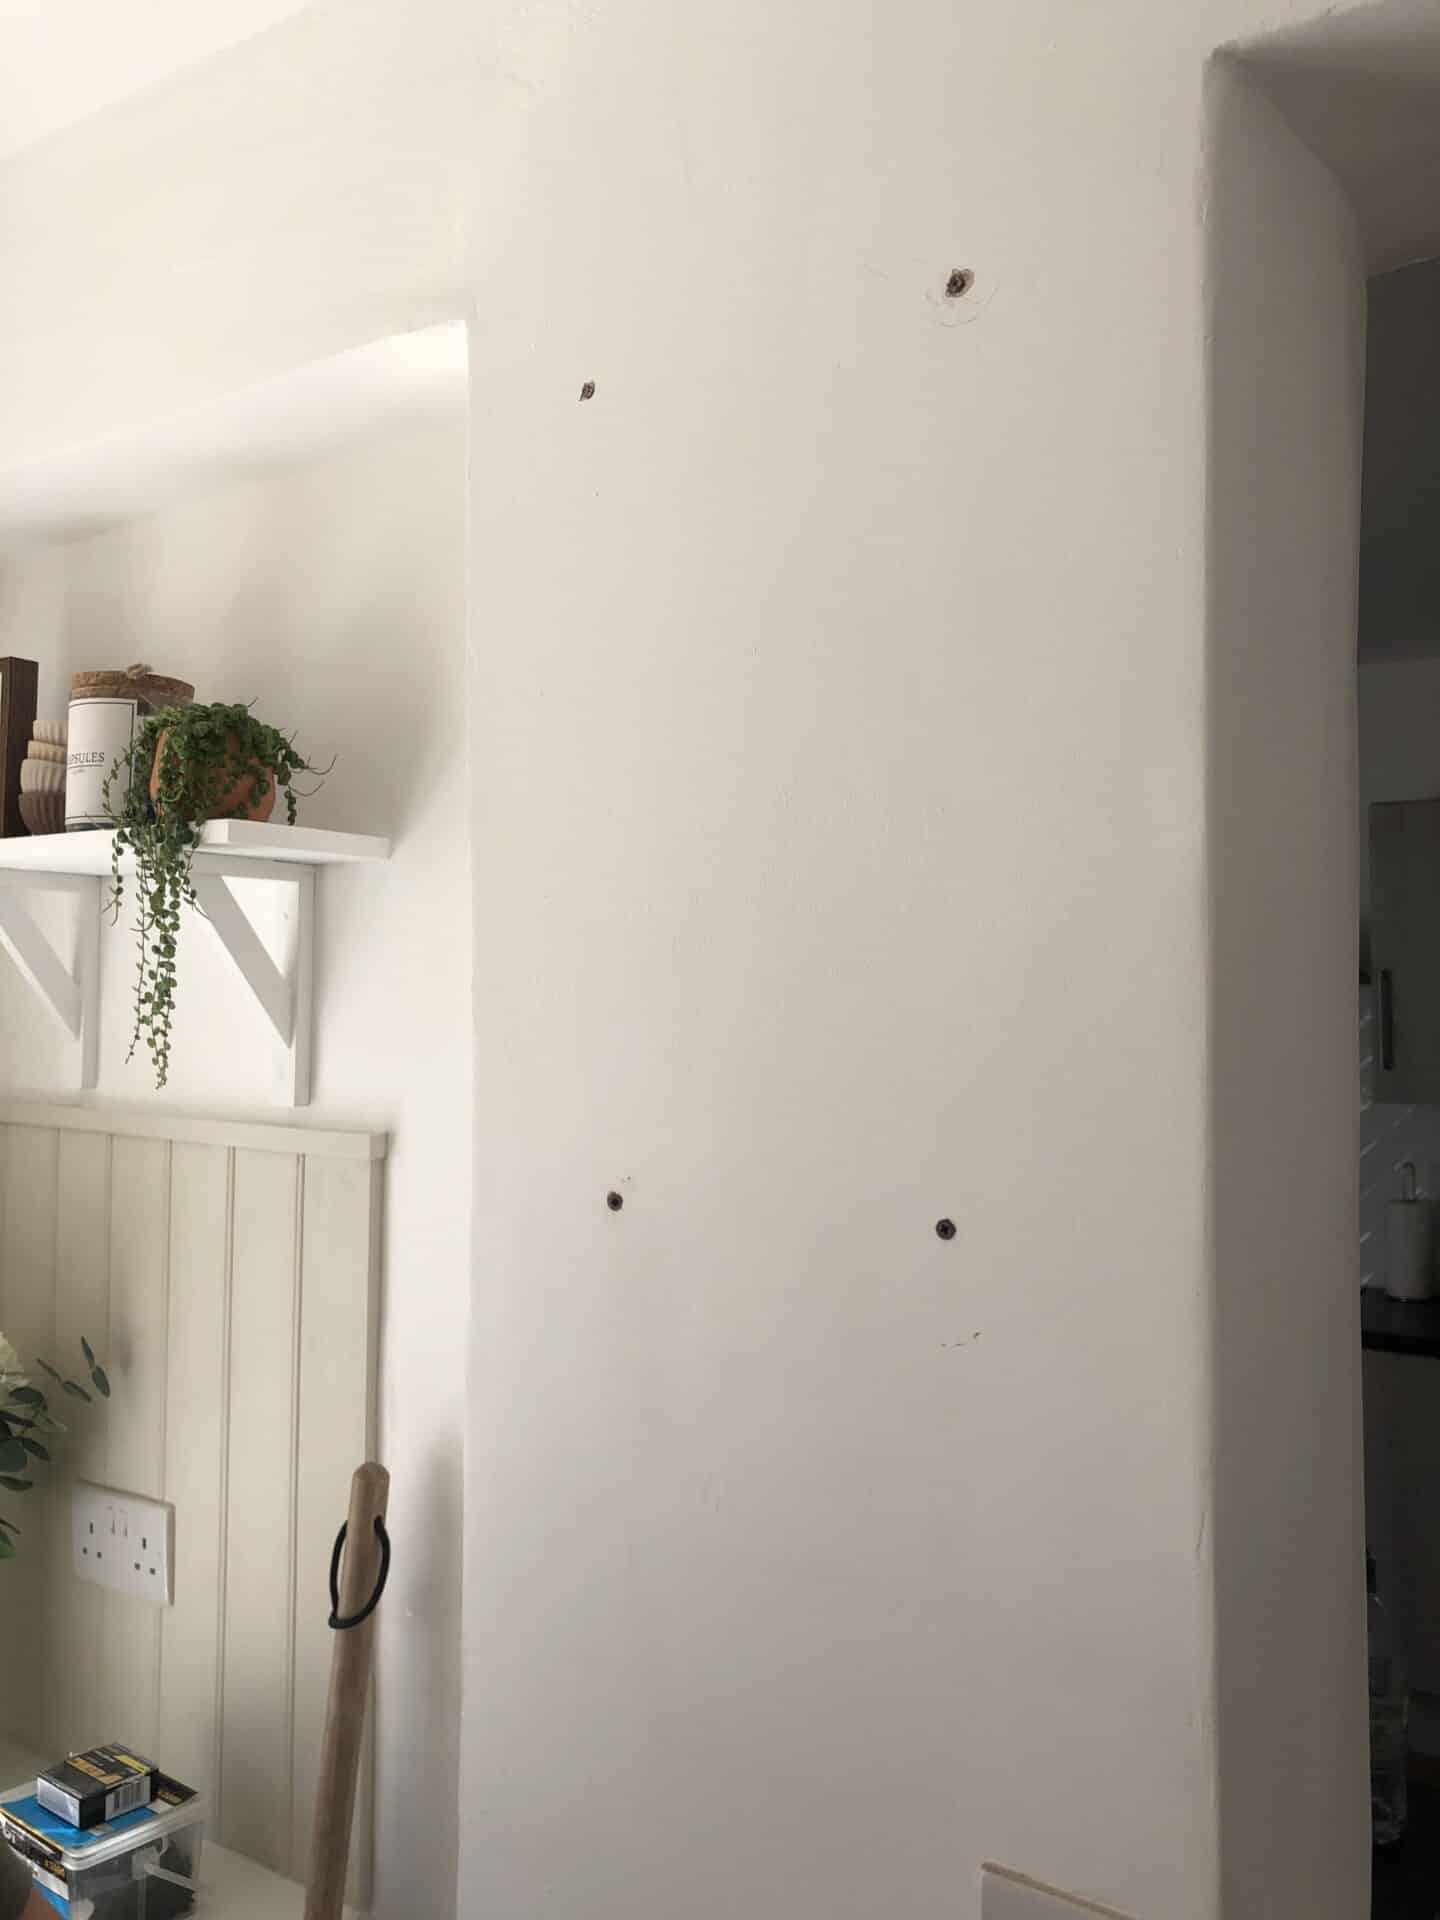
8. We were then ready to affix the main frame to the wall (the inside frame is added using hinges later on). By bringing the frame up to the wall, we marked out the holes that needed to be made, these were made by using a drill bit, we then added rawl plugs.

9. We then affixed the frame to the wall with screws, using a level to ensure it was straight.

10. We added two hinges, one on either side if the inner frame, this will come into its own as the fold down drying rack.
There was only one thing left for it, adding a length of twine to either side and tying a knot on the ends to ensure it doesn’t slip out. The length of twine used will vary depending on your setup.

11. With the frame added, and fully functioning, we then just had to paint it! We first used a wood priming paint, and then chose to paint the main frame the same colour as our panelling, and bright white on the inner frame to provide a bit of contrast.

There we have it! A completed fold down drying rack created from scratch. It has added such a functional and stylish corner to our laundry room, and I have been seeing so many fold down drying racks recently in magazines and online, they’re definitely the next thing!
I’m so happy with ours, and as we plunge into Autumn the extra drying space is much needed for us as we don’t have a tumble drier. If you’re looking for another solution to get your washing dry during the winter, check out my dry soon drying pod review, it’s definitely been a game changer for us!
Are you inspired to create your own fold down drying rack?

Very very useful and so clever!
Thanks so much, I love it!
This is such a great idea and I love how the drying rack looks in your laundry room!
Thank you so much! It’s such a game changer for drying laundry in the winter 🙂