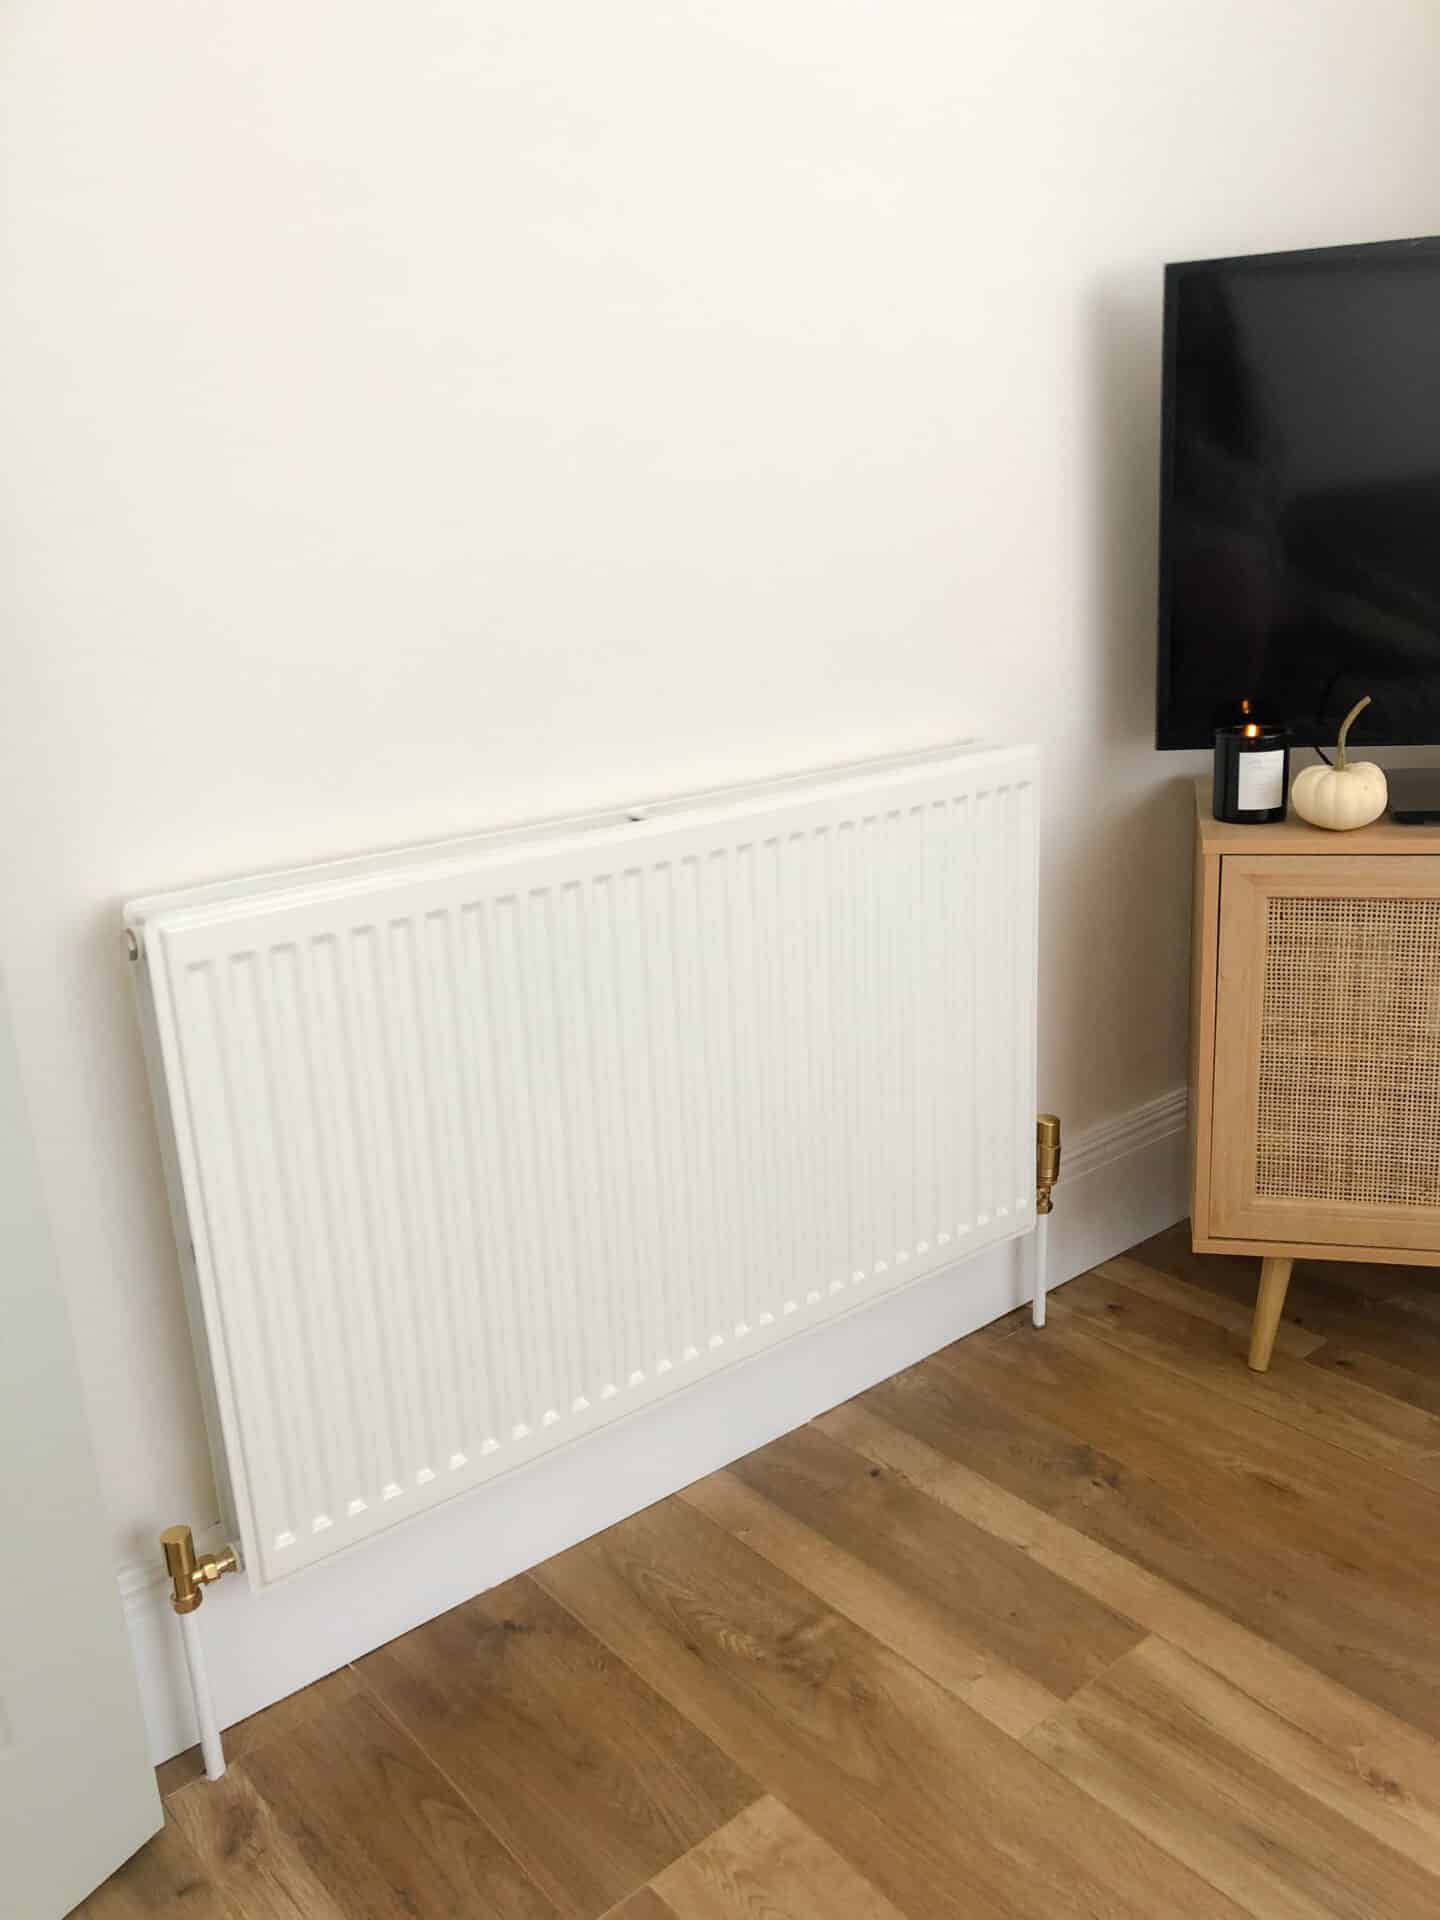
With the rising cost in living, extravagant house purchases, home decor styling and new pieces of furniture are suddenly shifted right to be back of the DIY ‘essentials’ queue.
Our homes are our sanctuary from the stresses of everyday life, and understandably, we want them to look nice, no matter the financial outlook in the country.
Whilst those high end purchases might not be realistic right now, it doesn’t mean we have to stop refreshing our home, and adding those perfect finishing touches that can make a big difference.
In our Victorian terrace house renovation, replacing the radiators was just not something within our budget, and didn’t make an economic investment as the property won’t be our forever home. It’s not to say that I really despise the radiators though, but they wouldn’t be what I’d choose!
The good news is though that there’s still a simple, a cost effective way to lift your radiators that will allow you to appreciate your radiators again, whilst matching them to your home decor scheme too.
Changing radiator valves is a simple, and stylish way to update them, here’s how we did this in our own home.
Choosing Radiator Valves
Using a couple of different metal finishes throughout my home is key to creating visual interest, and white plastic is just a no go for me from the radiator valves to the sockets and switches.
I had no idea that thermostatic radiator valves were available in a range of finishes, let alone that they could actually be changed!
As polished brass is one of the metal finishes featured in our living room, I knew I wanted a polished brass pair of radiator valves for our radiator so it cohesively matched with the other respective finishes in the room.
We opted for Talus Bold – Polished Brass Thermostatic Radiator Valves Corner as shown below, who knew radiator valves could be so beautiful?!

Changing Radiator Valves – How We Did It
What You Will Need:
- Bucket
- Towels
- Spanner
- Flat head screwdriver
- PTFE plumbers tape
- Joint paste
- New radiator valves
Changing Radiator Valves Instructions
1. This is to give you an idea of what the radiator valves looked like before we started installing the new ones. Fitting radiator valves doesn’t need to be done by just a plumber, but you will need to follow a set list of instructions to ensure it’s done correctly.

2. Ensure you have plenty of towels and a bucket ready for draining the radiator. Whilst we chose not the drain the full system, there will still be water left in the tank that needs to be drained off during this process.
3. Turn off the power to your boiler, as we had a combo boiler we needed to release the pressure on the boiler and drain this off until there was hardly any water, or a light stream left.
4. Firstly you need to open up the TRV (thermostatic valve), which is the top part of the valve and take off the valve on the other side of the system. Ensure the lock shield valve on this side is turned off. Close it off using a spanner in a clockwise direction.
5. Next you’ll need to head over to the bleed valve which is the part on the top, usually right hand side of the radiator, but not always (as shown on photo below). This can be opened up with a screwdriver, you’ll need a bucket or pot at hand for this part as this should release a steady stream of water. This could take some time to release, this should be left until it finishes. Once the flow has stopped, you’re then good to go ahead and replace the TRV. You can then do the bleed valve back up.

6. Now the lock shield is turned off, you also need to turn off the TRV.
7. Now we’re ready to start removing the TRV. Firstly take off the bottom nut with the adjustable spanner, not fully, but to just loosen it. You’ll get a slight drip of water at this stage so ensure the bucket and towels are in close proximity.
8. Support the valve in your hand or with a gripper and loosen the top nut and move the valve away from the radiator. You can now remove the bottom nut fully, you’ll now be able to remove the full valve and let the water come out.
9. Grab the new valve and put it into place which will stop the flow of water. You can now do up the new nuts and position into place. You can use joining paste here or PTFE tape, as we did here. The 2 nuts and angled valve should now be in place.
10. Take the thermostatic head which can now be installed, line it up and ensure it’s fully open, give it a gentle push and you’ll feel that you’re pushing the pin in, and do that up hand tight. Open up the lock shield valve on the other end of the radiator.

11. We reinstated the combi boiler and all of the radiators to ensure the system was working, we then bled the system and checked for any leaks. You can then stand back and appreciate those beautiful new radiator valves!


Changing the radiator valves has transformed how the radiator looks in our living room, and you don’t notice the impact until you change them.
The polished brass radiator valves tie perfectly into the rest of our room scheme, and it’s an affordable way to update your radiators, but certainly ups the style stakes!
Have you changed your radiator valves before? Is this something you’d do to refresh your interiors?
